What Is Y Tube Laboratory Apparatus Used For?
Y Tube Laboratory Apparatus is a simple glass connector with three openings. It joins two laboratory pathways into one controlled route. Researchers use it for gas transfer, pressure balancing, vacuum filtration, and reaction monitoring. Its shape resembles the letter Y. That detail matters.
In a typical setup, one arm connects to a reaction flask. Another may lead to a gas source, trap, or drying tube. The third opening supports controlled collection or evacuation. This flexibility helps chemists modify an apparatus without rebuilding the entire system. The Royal Society of Chemistry highlights careful equipment selection, secure connections, and contamination control as essential laboratory practices. The World Health Organization’s Laboratory Biosafety Manual also stresses risk assessment before practical work begins.
Market reports add useful context. Grand View Research’s laboratory equipment analysis describes continued growth in laboratory instrumentation and supporting equipment. MarketsandMarkets reports expanding demand for laboratory automation and connected workflows. However, neither report treats Y Tube Laboratory Apparatus as a separate commercial category. That limitation deserves attention.
Trevor Kletz, a leading process-safety expert, used the warning, “What You Don’t Know Can Hurt You,” in his safety writing. The lesson applies here. A Y tube can improve flexibility, but incorrect tubing, poor sealing, or excessive pressure can create failure points. Keep it simple. Inspect every joint.
This article explains what Y Tube Laboratory Apparatus is used for, how it fits common laboratory systems, and where its practical limitations appear. The explanation is not perfect. Real setups vary, and responsible users must follow current institutional procedures, equipment instructions, and safety standards.
What Is a Y-Tube Laboratory Apparatus?
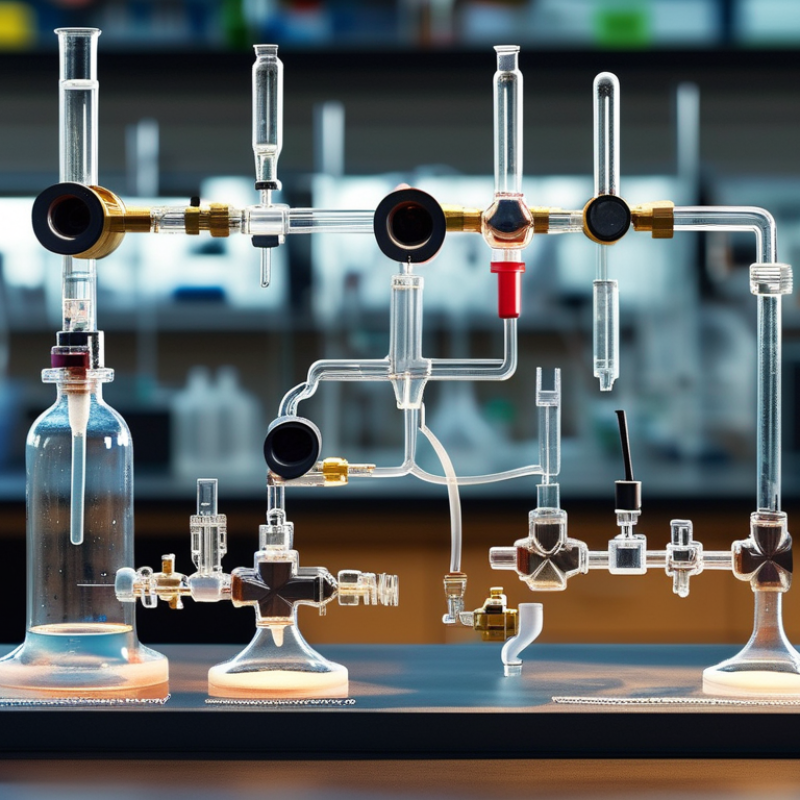
A Y-tube laboratory apparatus is a Y-shaped connector designed to join three tubes or pieces of laboratory equipment. It usually has one central passage that divides into two branches. Depending on the setup, gases or liquids can move from two inlets toward one outlet, or from one inlet into two paths. It is commonly made from heat-resistant glass, although some versions use chemically resistant plastic. The exact material matters because temperature, solvents, and pressure can affect performance.
In practical laboratory work, a Y-tube may connect a reaction vessel to a gas-collection system, drying tube, filter, or vacuum line. Clamps, valves, or tubing can control which branch remains open. A Y-tube does not regulate flow by itself. That detail is easy to overlook. When used with gases, the connections should be secure, and the system should be checked for leaks before operation. For liquids, the junction may retain small droplets, especially when the apparatus is not vertical. I would not assume every Y-tube suits every experiment. Inspect the glass for chips or fine cracks, confirm chemical compatibility, and avoid sudden pressure changes. In a teaching laboratory, tracing the flow with colored water can make the internal pathway easier to understand, but this simple demonstration may not represent real gas behavior.
How Is a Y-Tube Designed and Connected?
A Y-tube laboratory apparatus is designed around one inlet and two connected branches. Its shape allows gas, liquid, or vapor to divide, combine, or change direction during an experiment. The central junction should be smooth and evenly formed. Sharp internal edges may disturb flow or collect residue.
A typical Y-tube uses glass, plastic, or another material suited to the chemicals and temperature involved. Each branch usually has a similar inner diameter, although specialized setups may use different sizes. It looks simple. Small errors matter. The tube must be positioned without forcing either branch into a sharp angle. Excessive pressure can crack glass or loosen a connector.
Connection methods depend on the apparatus around it. Flexible tubing should fit firmly over the branch and remain free from twists. If a stopper or adapter is used, it must match the tube diameter closely. Clamps can support the tubing, but overtightening may restrict flow. In practical laboratory work, checking the path before adding chemicals is a reliable habit. A gentle air or water test can reveal leaks, but the test medium must suit the experiment. I have found that labeling each branch prevents avoidable mistakes, especially when one side carries an inlet and the other leads to a collection vessel. The arrangement is not always perfect; uneven tubing lengths can affect handling and make the setup less stable.
What Laboratory Tasks Is a Y-Tube Used For?
What Is Y Tube Laboratory Apparatus Used For?
A Y-tube is a simple glass connector with two branches and one shared outlet. In daily laboratory work, it joins gas lines, liquid paths, or flexible tubing. Its shape allows one stream to divide or two streams to combine. This makes it useful during gas collection, controlled ventilation, and reaction setup changes.
What Laboratory Tasks Is a Y-Tube Used For?
Technicians often use a Y-tube to connect a reaction flask with a gas-washing bottle and a collection vessel. It can direct generated gas through a drying agent or absorbent solution. In vacuum work, the fitting may link a flask, pressure line, and safety trap. That extra path can help protect pumps from splashes and sudden backflow. It is also useful for comparing two gas sources, although flow can become uneven without valves or flow meters.
Small details matter. Inspect the glass for chips before applying pressure. Secure each hose firmly, but avoid forcing tight tubing over fragile arms. The World Health Organization’s Laboratory Quality Management System guidance stresses traceability, equipment checks, and documented procedures. ISO/IEC 17025-based laboratory systems also emphasize verified equipment performance and reliable records. A Y-tube has no built-in control.
It only redirects flow.
In practice, I would not treat every Y-tube connection as automatically safe. Dead volume, condensation, and poor sealing can change results. A short leak test, correct tubing size, and clear labeling usually prevent avoidable errors. Yet even careful setups deserve review, especially when pressure, heat, or reactive vapors are involved.
What Safety Practices Apply When Using a Y-Tube?
A Y-tube laboratory apparatus connects one line to two branches, or combines two flows into one. It may carry gases, liquids, or vacuum lines, depending on its material and design. Its shape looks simple. The risks are not.
Wear splash goggles, a suitable lab coat, and gloves compatible with the chemicals involved. Inspect the Y-tube before use. Look for hairline cracks, cloudy glass, loose tubing, or brittle connectors. Do not force a tight joint. A small crack can fail when pressure changes. Secure the apparatus with clamps, but avoid excessive pressure on glass.
Check every branch before opening a valve. Confirm that each tube leads to the intended vessel, trap, or ventilation system. Keep outlet openings pointed away from people. Use a fume hood when vapors may irritate, poison, or ignite. Never seal a heated system unless a qualified procedure specifically allows it. Pressure can build quickly. That mistake is easy to make. Use pressure relief or vacuum protection when required, and follow the chemical’s safety data and laboratory procedures.
Introduce flow slowly and watch for bubbles, movement, leaks, or unexpected pressure. Stop immediately if the tubing swells or the connection slips. Do not handle hot glass with bare hands. Let the assembly cool before changing connections or cleaning it. In practice, even experienced users may skip a final leak check when work feels routine. That habit deserves reconsideration. Dispose of contaminated materials according to local laboratory rules, and ask a supervisor when the setup behaves differently than expected.