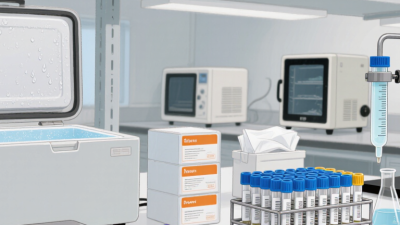
Medical Laboratory Materials may look routine, but each item shapes how a specimen is collected, handled, tested, and documented. A blood-collection tube, a filtered pipette tip, or a prepared slide can affect workflow and result reliability. Small details matter. The right materials depend on the test, instrument, specimen type, and laboratory procedure; no single list fits every facility.
This guide examines ten commonly used categories: collection tubes, specimen containers, pipette tips, reagents, slides, stains, culture media, swabs, personal protective equipment, and quality-control materials. The ranking is a practical overview, not a universal standard. Dr. James O. Westgard, a recognized expert in laboratory quality, has developed extensive guidance on quality control and process management. A concise paraphrase of his quality message is: “Reliable results begin with controlled processes.” It is a paraphrase, not a verbatim quotation.
For each category, the article will explain its role, key selection considerations, and routine handling concerns. A reagent’s storage conditions matter; so does checking a tube’s compatibility with the intended assay. Labels, expiry dates, and lot records can seem mundane. They are not. Still, materials alone cannot guarantee accurate results. Staff training, validated procedures, instrument maintenance, and ongoing quality checks also matter. Some choices remain context-specific, and that deserves careful review rather than a confident one-size-fits-all answer.
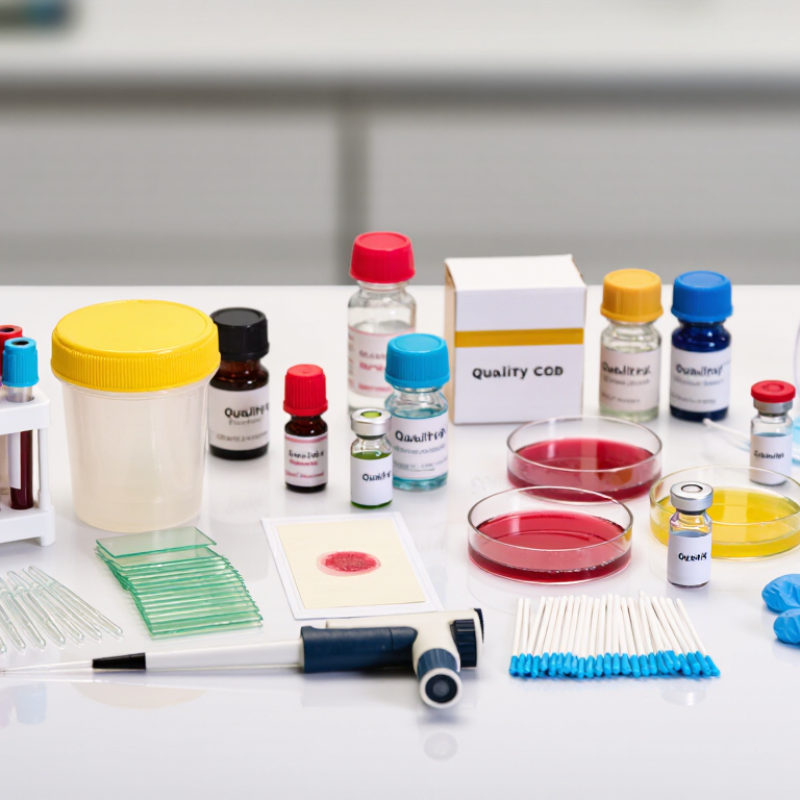
Map the workflow from specimen collection to reported result. Collection tubes, swabs, and transport media protect sample identity and stability. Labels with readable barcodes connect each specimen to its request. Personal protective equipment supports safe handling. These five materials serve different purposes, but a missing label can undermine them all. A CDC-sponsored 2008 Laboratory Medicine: A National Status Report linked laboratory testing to about 70% of medical decisions, underscoring the value of reliable handoffs.
At the analytical stage, reagents enable testing; calibrators help establish measurement accuracy; and quality-control materials reveal unexpected shifts. Pipette tips reduce carryover risk, while slides or cuvettes hold samples for examination. That makes ten material categories across the workflow. The details matter: a control result outside its acceptable range should prompt investigation before patient results are released. Yet even a well-designed map can miss local differences in equipment and procedures. It needs regular review.
Tips: Check labels at receipt, not later. Store reagents as specified, and record lot numbers. A rushed handoff can still happen; build in a pause.
Map the Top 10 Materials Across the Specimen-to-Result Workflow
The bars show each material’s primary workflow stage, from collection (1) to quality control (7). Stage numbers indicate workflow order only—not material rankings, usage volume, or performance. Materials may be used at additional stages depending on the laboratory method.
What Are the Top 10 Medical Laboratory Materials?
Collect Specimens: Tubes, Swabs, and Media—CLSI GP41’s 9:1 Citrate Ratio
A dependable collection bench needs more than tubes. Swabs, transport media, labels, and protective equipment also help preserve specimen quality. For coagulation testing, however, the citrate tube deserves close attention. CLSI GP41 guidance describes a blood-to-sodium-citrate ratio of 9:1. The tube’s fill mark helps maintain that proportion.
A short draw leaves too much citrate relative to the blood. This can affect clotting results and may lead to repeat collection. Not just paperwork. At the bench, a visibly underfilled tube is easy to spot, but a small shortfall can be harder to judge. It is tempting to call it close enough. That judgment deserves caution.
Follow the collection procedure used by your laboratory, including the order of draw and any instructions for mixing the tube gently. Avoid vigorous shaking. If a patient has a very high hematocrit, the standard citrate volume may need adjustment under validated laboratory procedures. Staff should confirm the required action rather than improvise. These details can feel fussy, yet they protect the relationship between the specimen and the result. I still find that fill lines are easier to respect when collection teams understand what the ratio is doing.
| # | Material | Typical specimen and use | Collection and handling essentials |
|---|---|---|---|
| 1 | EDTA blood collection tube | Whole blood for complete blood counts, blood-cell morphology, and some hematology tests. | Mix gently by the method specified for the tube; avoid vigorous shaking and clot formation. Follow the laboratory’s requirements for fill volume and sample mixing. |
| 2 | Sodium citrate coagulation tube | Citrated plasma for routine coagulation testing, including prothrombin time and activated partial thromboplastin time. | For standard coagulation collection, the blood-to-citrate ratio is 9:1. Fill to the stated mark and mix gently. Citrate volume may require adjustment when hematocrit is above 55%, according to laboratory policy. |
| 3 | Lithium heparin blood collection tube | Heparinized plasma for many routine chemistry tests. | Use only when the requested test accepts heparin plasma. Mix gently and observe the test-specific requirements for processing and separation. |
| 4 | Serum tube with clot activator, with or without separator gel | Serum for many chemistry, serology, and immunology tests. | Allow the specimen to clot as required before centrifugation. Separator gel is intended for compatible tests; verify test requirements before use. |
| 5 | Aerobic and anaerobic blood culture bottles | Blood for detection of bloodstream infections. | Use aseptic skin preparation and follow the collection protocol for the required bottle set, blood volume, and order of inoculation. Do not refrigerate unless the applicable instructions specifically require it. |
| 6 | Sterile urine specimen container | Urine for culture or other tests that require a sterile container. | For a clean-catch midstream sample, follow collection instructions to reduce contamination. Secure the lid and transport promptly; use specified storage conditions if processing is delayed. |
| 7 | Flocked collection swab | Nasopharyngeal, oropharyngeal, or other surface specimens for compatible molecular or microbiology tests. | Use the swab type and collection site specified by the test. Place it in the required transport system and avoid touching non-target surfaces. |
| 8 | Amies transport medium with swab | Selected bacterial swab specimens for culture. | Collect from the appropriate site and place the swab into the medium promptly. Transport within the laboratory’s specified time and temperature limits; suitability depends on the organism and test. |
| 9 | Viral transport medium | Selected respiratory or other viral specimens for molecular testing or viral culture, when accepted by the assay. | Use a compatible collection device and follow the assay’s storage and transport instructions. Not every molecular test requires transport medium. |
| 10 | Anaerobic transport device or medium | Deep tissue, aspirate, or other specimens submitted for anaerobic culture. | When feasible, submit aspirated fluid or tissue rather than a surface swab. Minimize exposure to oxygen and transport promptly according to laboratory instructions. |
Important: Select collection materials and transport conditions according to the requested test, laboratory procedures, and device instructions. Tube additives, fill requirements, and acceptable specimen types are test-specific.
Reliable testing starts with small handling choices. Pipette tips should fit the pipette securely and match the volume being transferred. Use a fresh tip between samples to reduce carryover, and follow the method’s instructions on filter tips. A loose fit can cause inaccurate delivery. So can rushing. Keep tips covered until use, and avoid touching them to benches or tube rims. These habits sound simple, but they are easy to overlook during a busy shift.
Slides need clean, dry surfaces so specimens can be examined without avoidable debris. Label each slide clearly before preparing it; a smudged or incomplete label can create uncertainty later. Stains should be prepared and applied according to the validated procedure, with timing kept consistent across samples. Check reagent condition and include appropriate controls when the method calls for them. A darker stain is not automatically a better result. Small details matter. Even careful preparation cannot correct every limitation in a test method, and a neat-looking slide is not proof that contamination is absent. That is why routine checks and clear records remain important.
For routine assays and cultures, ten essential materials are culture media, assay reagents, stains, buffers, calibrators, quality-control materials, extraction reagents, specimen swabs, collection tubes, and sterile water. Each has a job. A dehydrated medium can look fine yet fail after incorrect storage or preparation. A reagent may remain within its expiry date but perform poorly after repeated temperature changes.
ISO 15189:2022 addresses reagents and consumables under clause 6.6. Laboratories need documented checks for receipt, storage, acceptance, and lot changes, with records that link materials to test results. WHO’s 2025 Global antibiotic resistance surveillance report estimated that one in six common bacterial infections worldwide in 2023 was resistant to antibiotic treatment. That makes dependable culture media and susceptibility-test materials important to surveillance, not merely routine purchasing. Keep temperature logs, review control results, and compare new lots before use. Small details matter. In practice, paperwork can be complete while a busy bench still misses a subtle change in colony appearance; records help, but they do not replace trained observation.
Reliable results begin with fit-for-purpose materials:
calibrators, control sera, reagents, collection tubes, specimen cups, pipette tips, slides, stains, PPE, and biohazard waste containers. Calibrators establish the measurement scale; controls show whether the system remains stable. They are not interchangeable.
Record lot numbers, expiry dates, storage conditions, and control trends.
A control result can look acceptable while a slow shift is developing.
For precision studies, CLSI EP05-A3 describes a 20-day design: two runs per day and two replicates per run.
That produces 80 results per sample level, helping laboratories estimate repeatability and within-laboratory precision. Use consistent material, operators, and instrument settings where practical, and document deviations.
The standard supports a structured evaluation; it cannot fix poor mixing or an unstable specimen.
CDC’s historical US estimate of about 385,000 sharps injuries annually among hospital-based healthcare workers underscores why gloves, eye protection, and puncture-resistant disposal matter.
It is an older estimate, not a current laboratory-specific rate.
Tips:
Label control aliquots before the shift. Keep clean and used pipette tips apart. Check PPE before opening specimens.
If a control drifts, pause and investigate; repeating the run without a reason may only hide the problem.
Laboratories can still miss small workflow differences, so review the record—not just the final number.
2106 N Glassell St, Orange, CA 92865
(714)-754-6669 | sale@site_be823a56-9df9-438e-acac-cd7d504ea0ad
Monday: 8:00 AM – 4:30 PM
Tuesday: 8:00 AM – 4:30 PM
Wednesday: 8:00 AM – 4:30 PM
Thursday: 8:00 AM – 4:30 PM
Friday: 8:00 AM – 4:30 PM