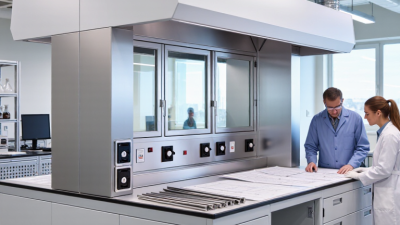
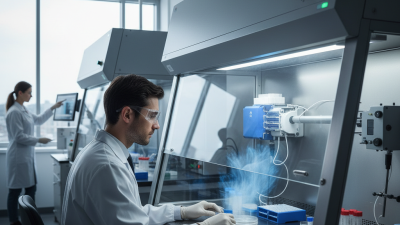
Choosing Home Laboratory Equipment in 2026 means matching each instrument to a real task, not chasing the most impressive specifications. A compact microscope, accurate balance, and dependable thermometer may matter more than a large instrument that rarely leaves its box. The right choice depends on available space, maintenance needs, measurement accuracy, and safe, responsible use.
Grand View Research estimated the global laboratory equipment market at USD 58.1 billion in 2023, with projected annual growth of 7.2% from 2024 to 2030. This broad market estimate covers professional settings; it does not measure home laboratories specifically. Still, it signals a fast-changing equipment landscape. Compare manufacturer specifications carefully, and check whether calibration, replacement parts, and clear operating instructions are available. Small details count. A balance that drifts, or a sensor with no support, can undermine otherwise careful work.
Experimental physicist Richard Feynman offered a useful reminder: “The first principle is that you must not fool yourself—and you are the easiest person to fool.” Applied to Home Laboratory Equipment, that means checking what a device can actually measure, rather than trusting polished packaging or inflated claims. This guide will help readers weigh performance, budget, durability, and practical constraints before buying. Some trade-offs are unavoidable. Even a careful shortlist may miss something; reviewing the setup after real use is part of making a better choice.
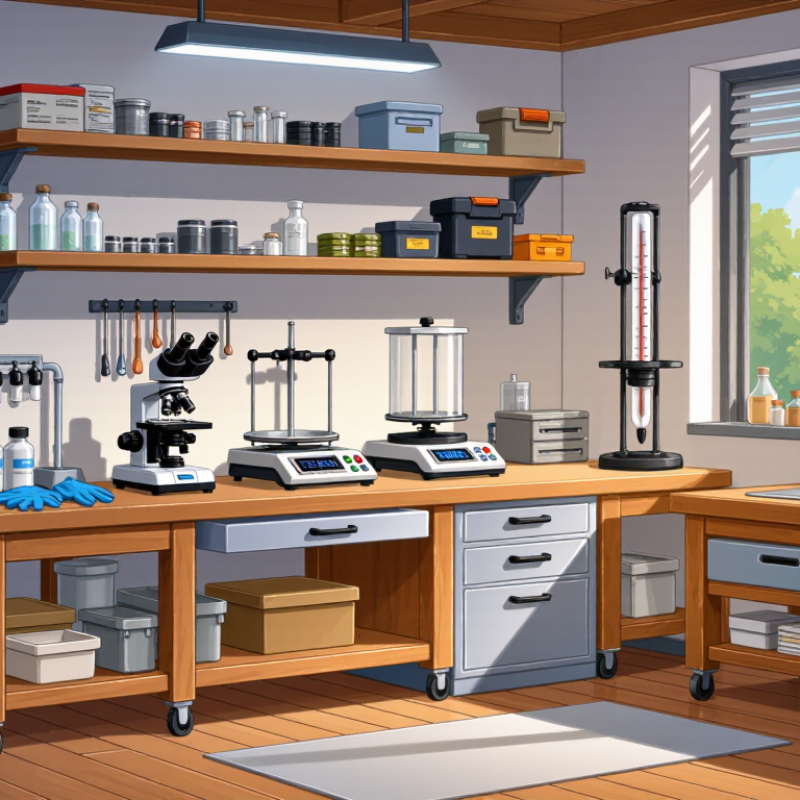
Begin with the work, not the shopping list. Will the space support electronics projects, plant-growth observations, water-quality checks, or precise measurements? Each purpose needs different capabilities. An electronics bench may need a grounded outlet, good task lighting, and a heat-resistant surface. Measurement work may call for a stable table, labeled storage, and calibration checks. Start with the task. The NSF National Center for Science and Engineering Statistics estimated U.S. research and development spending at about $893 billion in 2022. That figure reflects research across many fields; it is not a home-lab budget or a buying guide. It does show why “laboratory equipment” is too broad a category for planning.
Write down the measurements, sample types, and repeatability your projects actually require. Then check the room: available power, ventilation, water access, storage, and space to work without crowding. The World Health Organization’s Laboratory Biosafety Manual, fourth edition, emphasizes risk assessment based on the specific activity. Apply that habit even to modest projects: identify heat, dust, spills, and sharp edges before choosing equipment. Keep it modest. A common planning trap is buying a precise instrument before deciding how often it will be used or how its readings will be checked. I would leave a shelf empty rather than fill it with tools that do not serve a clear purpose. Needs change, and some plans deserve another look.
Before buying equipment, measure the room, doorways, benches, and the path from the entrance to each work area. A large instrument may fit on paper but block an eyewash station or leave no room to open a cabinet. Measure twice. Check floor loading, outlet locations, circuit capacity, water access, drainage, and ventilation with a qualified facilities professional. DOE’s Better Buildings program reports that laboratory buildings can use about five times the energy per square foot of typical offices, so ventilation and equipment loads deserve attention early.
Match each item to its actual hazard and utility needs. A fume hood requires suitable exhaust and must not be treated as ordinary bench space; confirm its placement and airflow with a qualified safety professional. Keep clear access to exits and emergency equipment, and allow space for safe movement around benches. The CDC and NIH’s Biosafety in Microbiological and Biomedical Laboratories guidance emphasizes risk assessment when selecting containment measures. The right setup depends on the work, not simply the equipment label.
Before ordering, sketch the room with equipment footprints, service clearances, and storage marked. Then ask facilities staff to verify electrical demand and ventilation capacity; one extra outlet does not mean a circuit can support another instrument. OSHA’s Laboratory Standard calls for a Chemical Hygiene Plan where applicable. Even a tidy plan can miss awkward details, such as a door that swings into a work zone. Check the layout in person, and revise it when the real room disagrees.
How to Choose Home Laboratory Equipment in 2026?
Choose Equipment by Function, Accuracy, and Compatibility
Start with the task, not the catalog. A balance for occasional household measurements differs from one used for repeatable analytical work. List the sample types, expected range, and smallest meaningful change before comparing models. Then check stated accuracy, resolution, and calibration options; these terms are not interchangeable. NIST’s Technical Note 1297 explains how measurement uncertainty should be evaluated and reported. Useful reading. A tiny display increment alone does not guarantee a trustworthy result.
Compatibility is practical, too. Measure the bench, confirm outlet requirements, and check whether the instrument needs stable temperature, ventilation, or a dedicated surface. U.S. Department of Energy Labs21 guidance notes that laboratories can use up to ten times the energy per square foot of office space. That makes power and heat worth considering, even in a small workspace. Check connector types, compatible accessories, data-export formats, and replacement-part availability before buying. Fit matters.
Use independent evidence to challenge product claims. Grand View Research estimated the global laboratory equipment market at about $58.6 billion in 2023, with projected growth through 2030. A growing market can mean more choice, not better suitability. I still find it easy to overvalue impressive specifications. Compare the documented performance with your actual method, and keep the manual and calibration records. A simple checklist may prevent an expensive mismatch.
Choose equipment by function, accuracy, and compatibility. The chart shows representative maximum tolerances for Class A volumetric flasks; specifications can vary by applicable standard and manufacturer.
Match the flask capacity to the volume you need to prepare, then check its tolerance against your required accuracy. Also confirm that fittings, stoppers, and materials are compatible with your other equipment and chemicals.
Check Regulations, Certifications, and Supplier Reliability
Before buying, check the requirements that apply where the equipment will be used. Rules vary by country and by instrument. Electrical safety, electromagnetic compatibility, and calibration records may all matter. Ask the supplier for the relevant conformity documents, the certificate’s scope, and its expiry date. A logo alone proves little. Check the fine print.
ISO’s 2022 Survey of Management System Standard Certifications reported 1,265,216 valid ISO 9001 certificates worldwide. This shows how widely quality-management systems are used; it does not prove that a particular instrument is accurate or suitable. For measurements that need documented traceability, ask whether calibration was performed by a laboratory accredited to ISO/IEC 17025, and request the latest certificate. Match its stated range and uncertainty to your planned work.
Supplier reliability also shows up after delivery. Ask how quickly service questions are answered, whether replacement parts remain available, and what the warranty excludes. Request a sample service record or a written response-time commitment. Check that manuals explain routine checks, cleaning, and safe operation in clear language. A tidy certificate folder can still hide slow support. I would compare the supplier’s promises with a real service example, even if that adds another day to the purchase.
How to Choose Home Laboratory Equipment in 2026?
Compare the purchase price with the full cost of ownership. Include installation, calibration, consumables, service visits, and electricity. A low-cost freezer may become expensive if its seals fail or replacement parts are hard to find. Check the service interval and local repair options before buying. Ask for written estimates. Small costs add up.
Energy deserves attention, even in a home workspace. The U.S. Department of Energy’s Labs21 guidance reports that laboratory buildings can use roughly five to ten times more energy per square foot than typical offices. Your home setup will differ, but a continuously running freezer or ventilation system can still affect bills. Compare annual energy estimates, not just purchase prices. Also check noise and heat near the equipment. They matter in a small room.
Plan for upgrades before choosing a system. Modular units, replaceable sensors, and common fittings can make later changes simpler. Confirm that software exports data in usable formats and that accessories remain available. A spreadsheet helps, but it cannot predict every repair. Leave some budget unassigned. That may feel overly cautious, yet older equipment can be difficult to upgrade when its controls or parts are proprietary.
| Equipment | Typical Purchase Cost (USD) | Best For | Routine Maintenance | Estimated Annual Upkeep (USD) | Future Upgrade Options | Space and Setup Notes |
|---|---|---|---|---|---|---|
| Compound light microscope | $150–$600 | Viewing prepared slides, cells, fibers, and other small transparent samples | Clean lenses with lens-safe materials, cover when not in use, and check illumination and focus mechanisms | $10–$50 | Add a phone or camera adapter, improved illumination, or higher-quality objectives if compatible | Needs a stable, level surface; store away from dust and moisture |
| Portable or benchtop pH meter | $80–$400 | Measuring the acidity or alkalinity of suitable liquid samples | Rinse the electrode after use, store it in the recommended solution, and calibrate with fresh buffer solutions | $30–$120 | Upgrade to a replaceable electrode, automatic temperature compensation, or data logging | Requires buffer solutions and careful electrode storage; keep liquids away from electronics |
| Precision or analytical balance | $300–$1,200 | Weighing small quantities of non-hazardous materials | Keep the weighing area clean, level the instrument, protect it from drafts, and verify readings with suitable check weights | $50–$250 | Consider external calibration, a draft shield, or computer connection for records | Needs a rigid, vibration-resistant bench; analytical models are more sensitive to drafts |
| Adjustable micropipettes, small set | $120–$500 | Measuring and transferring small liquid volumes with disposable tips | Clean the exterior, use compatible tips, inspect seals, and arrange periodic accuracy checks | $40–$180 | Add additional volume ranges, a pipette stand, or a calibration service as needs grow | Store upright when possible; keep tips and pipettes dry and protected from contamination |
| Mini centrifuge | $80–$300 | Briefly separating small sample volumes in compatible tubes | Clean spills promptly, inspect the rotor and tube holders, and balance opposing tube positions | $10–$60 | Upgrade to a model with a larger rotor, timer, or speed control if required by future work | Use on a stable surface and follow the rated speed, rotor, and tube limits |
| Magnetic stirrer with hotplate | $100–$450 | Mixing and gently heating compatible liquids in heat-resistant vessels | Allow the plate to cool before cleaning, keep vents clear, and inspect the power cord and controls | $10–$80 | Add a temperature probe or upgrade to independent stirring and heating controls | Requires heat-resistant, chemical-compatible vessels and a ventilated, heat-safe work area |
| Small laboratory incubator | $250–$900 | Maintaining a controlled temperature for appropriate educational or non-hazardous applications | Clean the interior, monitor temperature with an independent thermometer, and check door seals and airflow | $30–$150 | Upgrade to tighter temperature control, a data logger, or a larger chamber | Allow room for ventilation; avoid use for culturing unknown or potentially harmful biological samples |
| Visible-light spectrophotometer | $400–$2,000 | Comparing light absorbance of suitable solutions in compatible cuvettes | Keep the sample compartment clean, handle cuvettes carefully, and check the instrument with reference standards | $30–$200 | Look for data export, a wider wavelength range, or software support when replacing the unit | Needs a stable bench and protection from dust; confirm cuvette size and wavelength range before purchase |
Prices are approximate 2026 planning ranges in USD for non-brand-specific equipment; actual costs vary by specification, supplier, shipping, and local taxes. Annual upkeep estimates cover routine consumables and basic checks, not major repairs or professional calibration. Follow equipment manuals and local safety requirements, and use only materials appropriate for a home workspace.
2106 N Glassell St, Orange, CA 92865
(714)-754-6669 | sale@site_be823a56-9df9-438e-acac-cd7d504ea0ad
Monday: 8:00 AM – 4:30 PM
Tuesday: 8:00 AM – 4:30 PM
Wednesday: 8:00 AM – 4:30 PM
Thursday: 8:00 AM – 4:30 PM
Friday: 8:00 AM – 4:30 PM